Unity Setup
Add VRCFury and AudioLink to your project, then import the Unity package and your mesh.
Select your mesh and go to the import settings. Disable "Weld Vertices" and make sure the "Normals" setting is set to import.
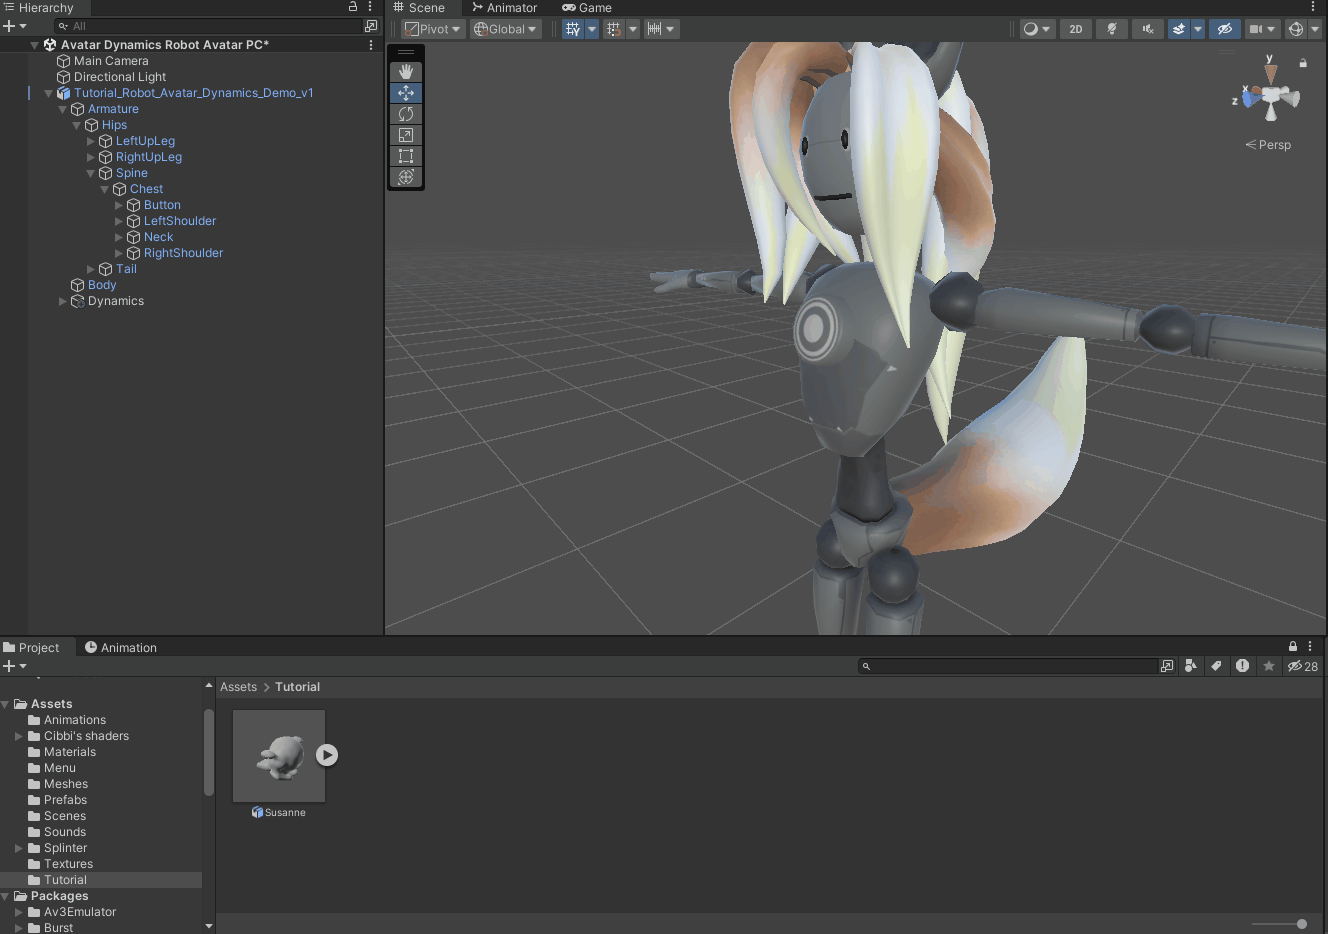
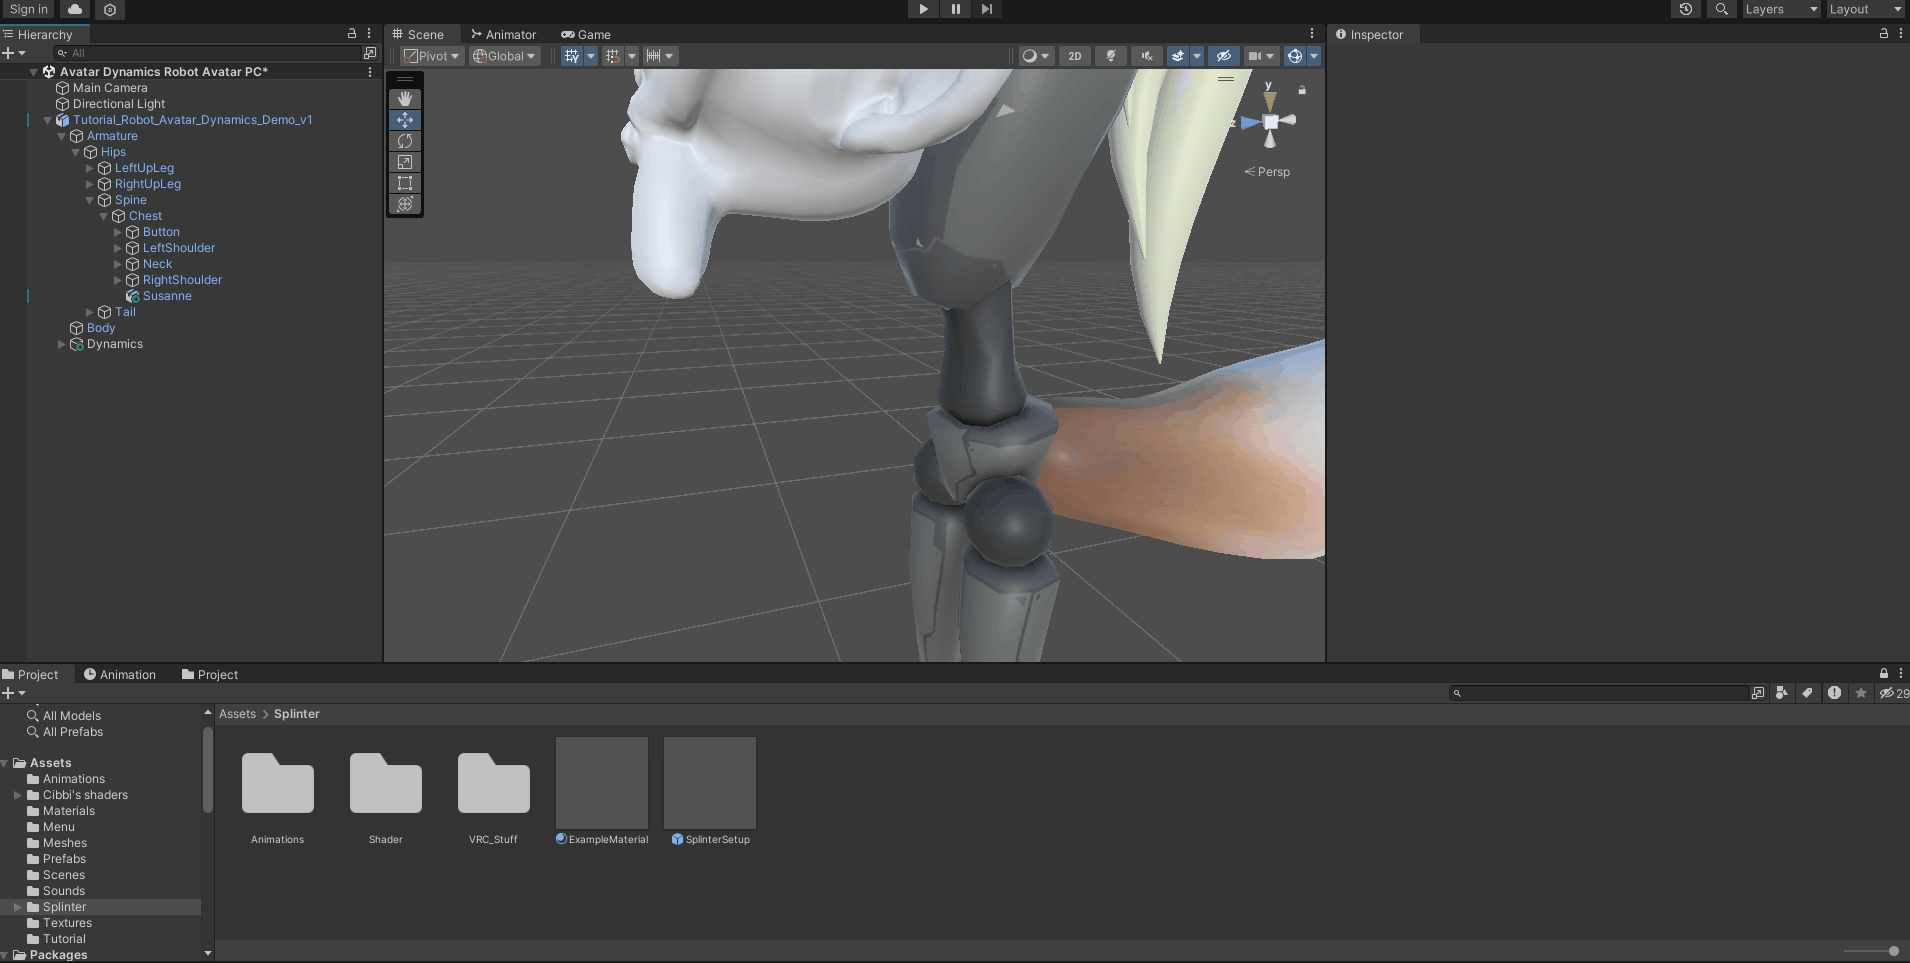
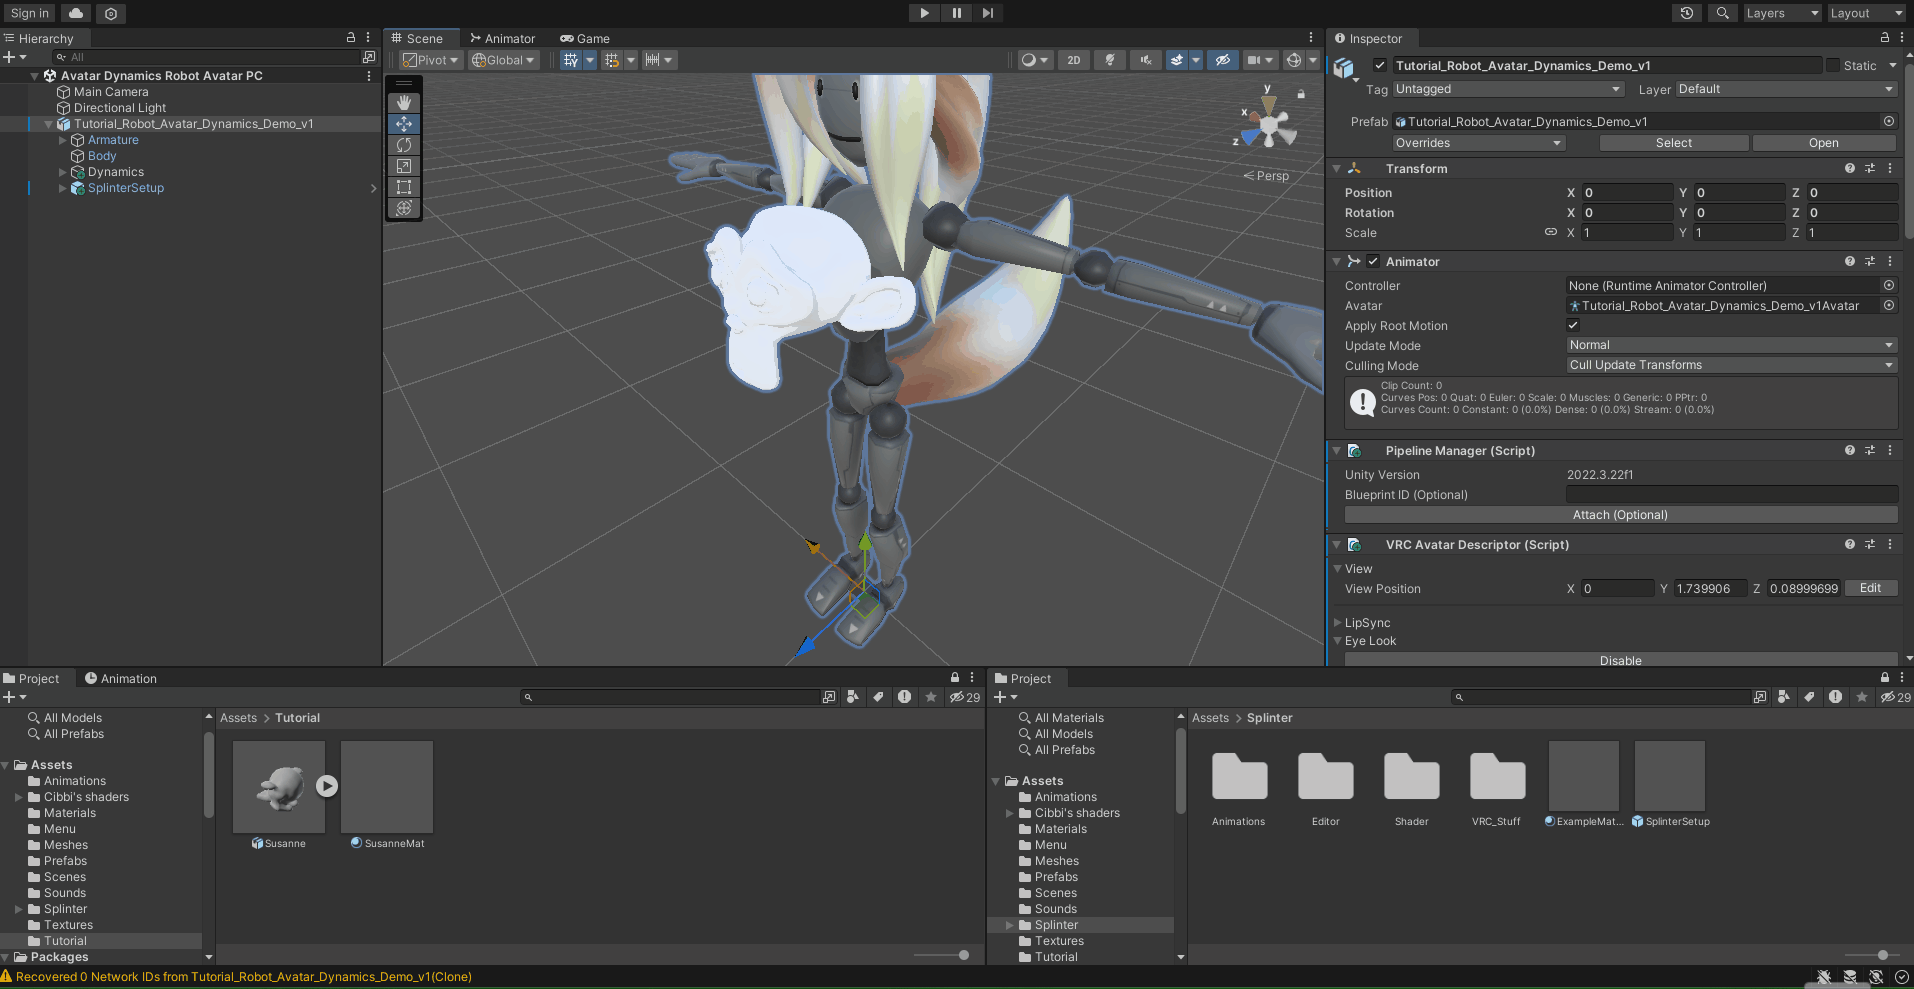
Then add the mesh onto your avatar.
Add the prefab to the base of your avatar. Then position the "BakerCamera" where it can see the mesh on which the material will be applied. Finally, adjust the prefab's armature link so the camera is anchored to the same bone as the target mesh. If the mesh is separate from the body, delete the armature link and add a parent constraint instead.
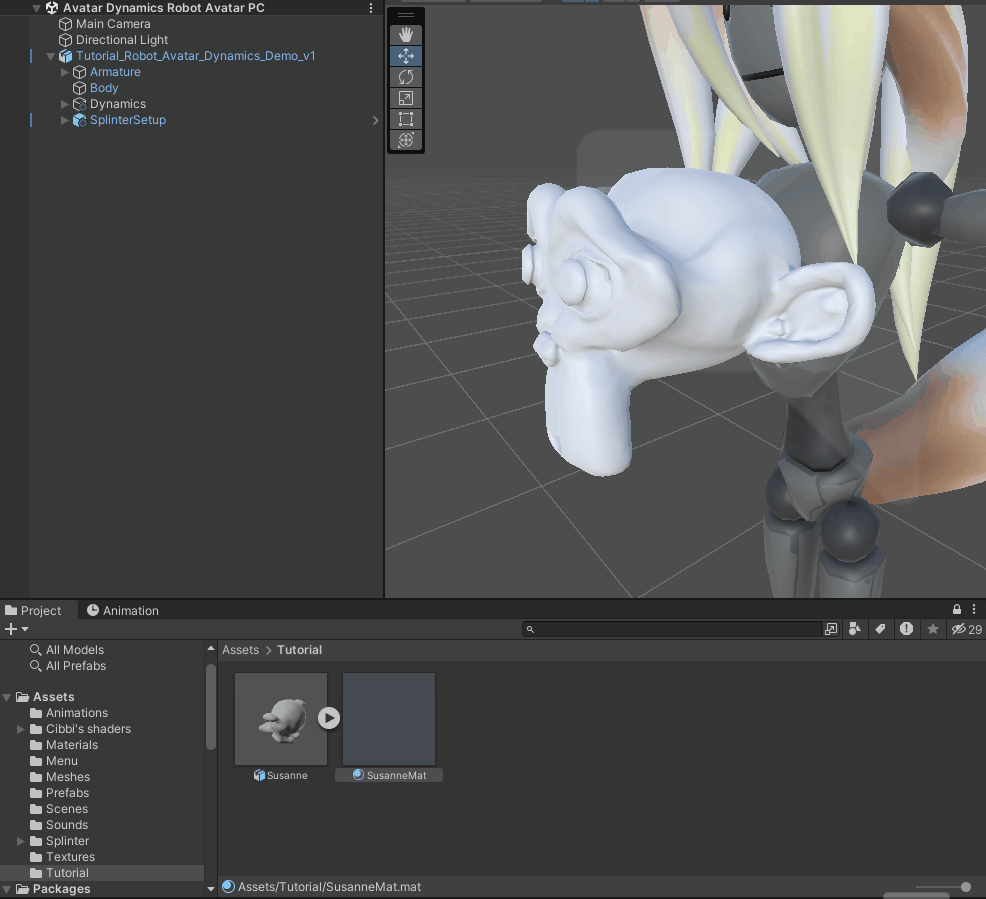
Then copy the example material.

Apply the material to the mesh.
If everything worked, your mesh should now be shown with the material applied. You may need to move the viewscreen to let the copy camera update. You can move the mesh to see if the delayed triangle effect is working. Don't worry about it only refreshing slowly, that is a limitation of the editor preview. If you want instant updates, enter Play Mode.
VRCFury may create a copy of your material. If this happens, you must edit the material in Play Mode by selecting the mesh directly. Afterwards, copy those material properties and paste them onto your original material.
If you need to have the shader applied to a mesh with more than 160000 polygons check this site: Allowing for more vertices